Unity
Building Responsive Player Movement in Unity
Design input, acceleration, grounding, and camera behavior as one coherent player experience.

Responsive movement is a clear relationship between what a player asks for and what the character does. It does not always mean instant acceleration. A heavy character can feel responsive when its inertia is predictable, while a fast character can feel unresponsive when inputs disappear or the camera hides the result.
Build movement in a small test scene before depending on it throughout a level. Include a flat area, slopes, stairs, narrow ledges, low ceilings, and a moving platform if the game needs one. This space becomes a repeatable reference for tuning and regression testing.
Choose the movement model deliberately
A physics-driven character is useful when forces and physical interactions are central to the design. A kinematic controller can give more direct control over acceleration, collision response, and special moves. Do not mix transform teleportation and physics movement casually; conflicting ownership can produce jitter and difficult collision bugs.
Unity's CharacterController.Move accepts a displacement and handles collision constraints, but does not apply gravity for you. Keep velocity and displacement conceptually separate: velocity describes a rate, while displacement describes how far to move during an update. Applying elapsed time twice—or forgetting it entirely—can make movement depend on frame rate.
Preserve input intent
Sample input through one clear path and store the intention the movement system needs. Clamp a two-dimensional input vector to a maximum magnitude of one so diagonal input does not become faster while analog stick values retain their range. Apply a dead zone appropriate to the device, and allow players to adjust sensitivity where it affects control.
Button presses should survive the gap between input collection and the system that consumes them. If a jump press occurs just before landing, a short input buffer can preserve that request. Keep the buffer bounded and consume it once; otherwise a held or repeated input may produce unintended jumps.
Tune acceleration and stopping separately
Maximum speed is only one parameter. Acceleration controls how quickly movement begins, deceleration controls stopping, and turning behavior controls how direction changes. Test each in isolation. A character that reaches full speed quickly but takes too long to stop may feel slippery even if its top speed is modest.
Make jumps legible
Think about jump height, time to apex, air control, and landing recovery as separate choices. Coyote time—a short grace period after leaving a ledge—can make timing more forgiving, but it should not conceal incorrect grounding. Tune grace windows in the context of obstacle spacing and the intended difficulty rather than copying a value from another game.
Treat grounding as a system
Test edges, slopes, steps, and ceilings. A single ground check may behave differently when the character is partly over a ledge or moving upward. Define what counts as walkable, when vertical velocity resets, and how the controller handles surfaces that move. Use debug visualization so you can see contact tests rather than infer them from the final motion.
For moving platforms, decide whether the player inherits platform motion and whether momentum persists after jumping. Both can be valid designs, but inconsistent behavior is frustrating. Test entering and leaving the platform while it changes direction, not only while it moves steadily.
Let the camera support the controller
A controller may be correct while the camera makes it feel delayed. Excessive smoothing can hide quick direction changes; aggressive collision avoidance can abruptly alter perspective. Tune movement with the actual camera and field of view, then test sensitivity and motion-reduction options.
- Verify keyboard, controller, and any supported touch input.
- Compare behavior at different frame rates and under a temporary hitch.
- Test repeated jumping against ceilings and near ledges.
- Check respawn, pause, lost focus, and controller disconnect behavior.
- Ask a new player to stop on a small target without coaching.
Build a repeatable tuning practice
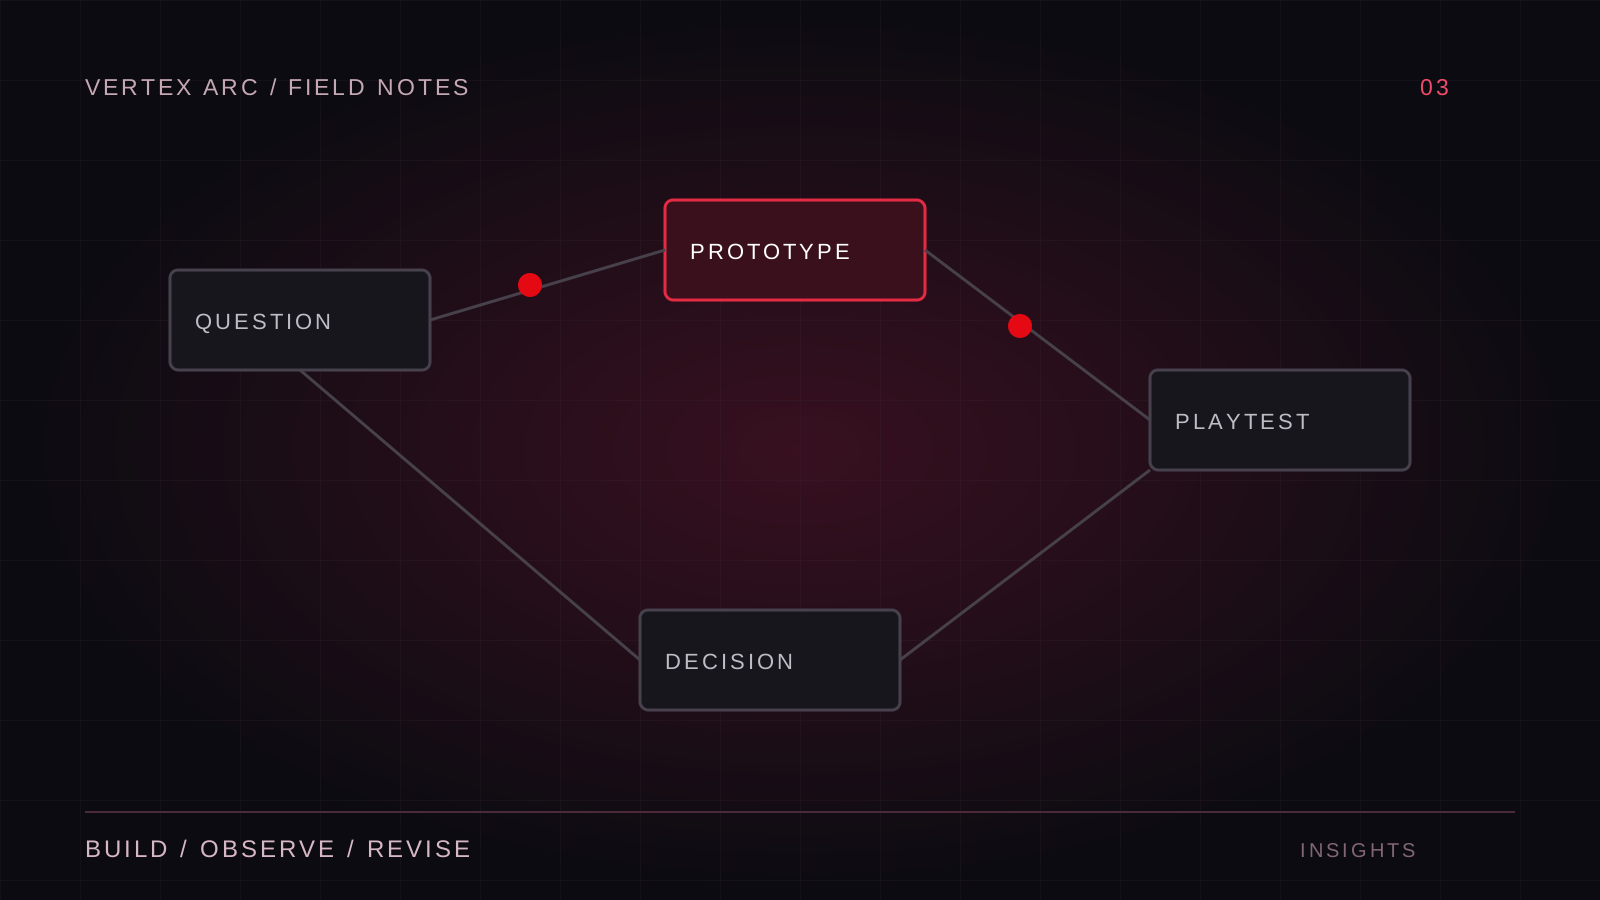
Expose the meaningful parameters, keep named tuning profiles, and compare one change at a time. Record whether a problem comes from input, simulation, collision, animation, or the camera. The visible character is the result of all five, so changing a movement speed value cannot solve every symptom.
Finish with a controller whose behavior you can explain and reproduce. Responsive movement grows from consistent rules and readable feedback. Effects and animation can strengthen that foundation, but they cannot compensate for lost inputs, unreliable grounding, or a camera that obscures the player's decisions.